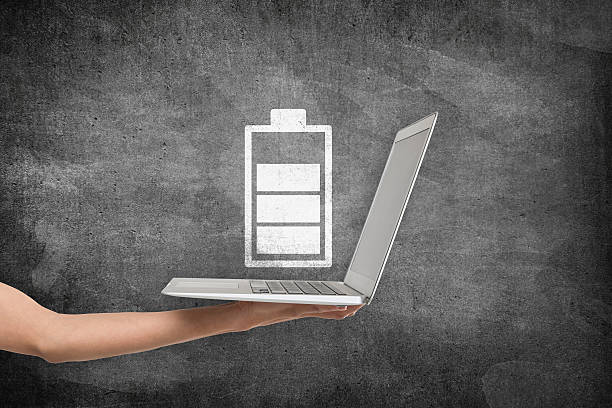
Razer is a popular laptop brand known for its high-performance gaming laptops. Like all laptops, they eventually run out of battery life, and when this happens, it’s important to know how to replace the battery in order to keep your laptop running smoothly. In this article, we’ll provide a comprehensive guide to replacing the battery in your Razer laptop.
Before we begin, it’s important to note that battery replacement can be a complex process, and it’s always best to have some technical knowledge before attempting to replace the battery in your laptop. Additionally, it’s important to use only high-quality replacement parts to ensure the longevity and performance of your laptop.
Step 1: Gather the necessary tools and parts. Before you begin the battery replacement process, you’ll need to gather the necessary tools and parts for Razer Laptop battery replacement. These will include:
- A Phillips-head screwdriver
- A small flat-head screwdriver
- A replacement battery for your Razer laptop
- A battery replacement kit (optional)
Step 2: Shut down your laptop and remove the back panelThe first step in replacing the battery in your Razer laptop is to shut it down and remove the back panel. To do this, follow these steps:
- Shut down your laptop and unplug it from the power source.
- Flip the laptop over and look for the screws holding the back panel in place.
- Use a Phillips-head screwdriver to remove the screws and pry off the back panel.
Step 3: Remove the batteryOnce the back panel is removed, you’ll see the battery inside your laptop. To remove the battery, follow these steps:
- Locate the screws holding the battery in place.
- Use a small flat-head screwdriver to remove the screws and pry off the battery.
- Carefully remove the battery from the laptop, being careful not to damage any internal components.
Step 4: Install the new batteryOnce the old battery is removed, it’s time to install the new one. To do this, follow these steps:
- Place the new battery in the laptop, making sure it’s aligned with the battery slot.
- Use a small flat-head screwdriver to replace the screws that held the old battery in place.
- Replace the back panel and screw it back into place.
Step 5: Test the new batteryAfter the new battery is installed, it’s important to test it to ensure it’s functioning properly. To do this, follow these steps:
- Turn on your laptop and plug it into the power source.
- Check the battery life indicator on your laptop to ensure the new battery is charging properly.
- Once the battery is fully charged, disconnect it from the power source and test the battery life by running the laptop on battery power.
In conclusion, replacing the battery in your Razer laptop can be a complex process, but with the right tools and knowledge, it can be done quickly and easily. By following the steps outlined in this guide, you can ensure that your laptop’s new battery is installed properly and will provide long-lasting power for your computing needs.
